Streamlining Retail Operations with BudSense: A Step-by-Step Guide to Digital Menu Creation

At BudSense, our goal is to provide innovative solutions that simplify retail operations and enhance customer interactions. One of our standout features is our digital menu creation process. With BudSense, updating your store's menu is quick and efficient, ensuring that your customers always have access to the latest product offerings. Here’s a simple 4-step guide to creating and maintaining your digital menu with BudSense!

Step 1: Product Arrives

The journey to an updated digital menu begins with the arrival of new products. Whether it's a fresh batch of edibles, new strains, or the latest accessories, ensuring your inventory is current is crucial. Start by inspecting the newly arrived products to confirm everything is in order and ready for sale.
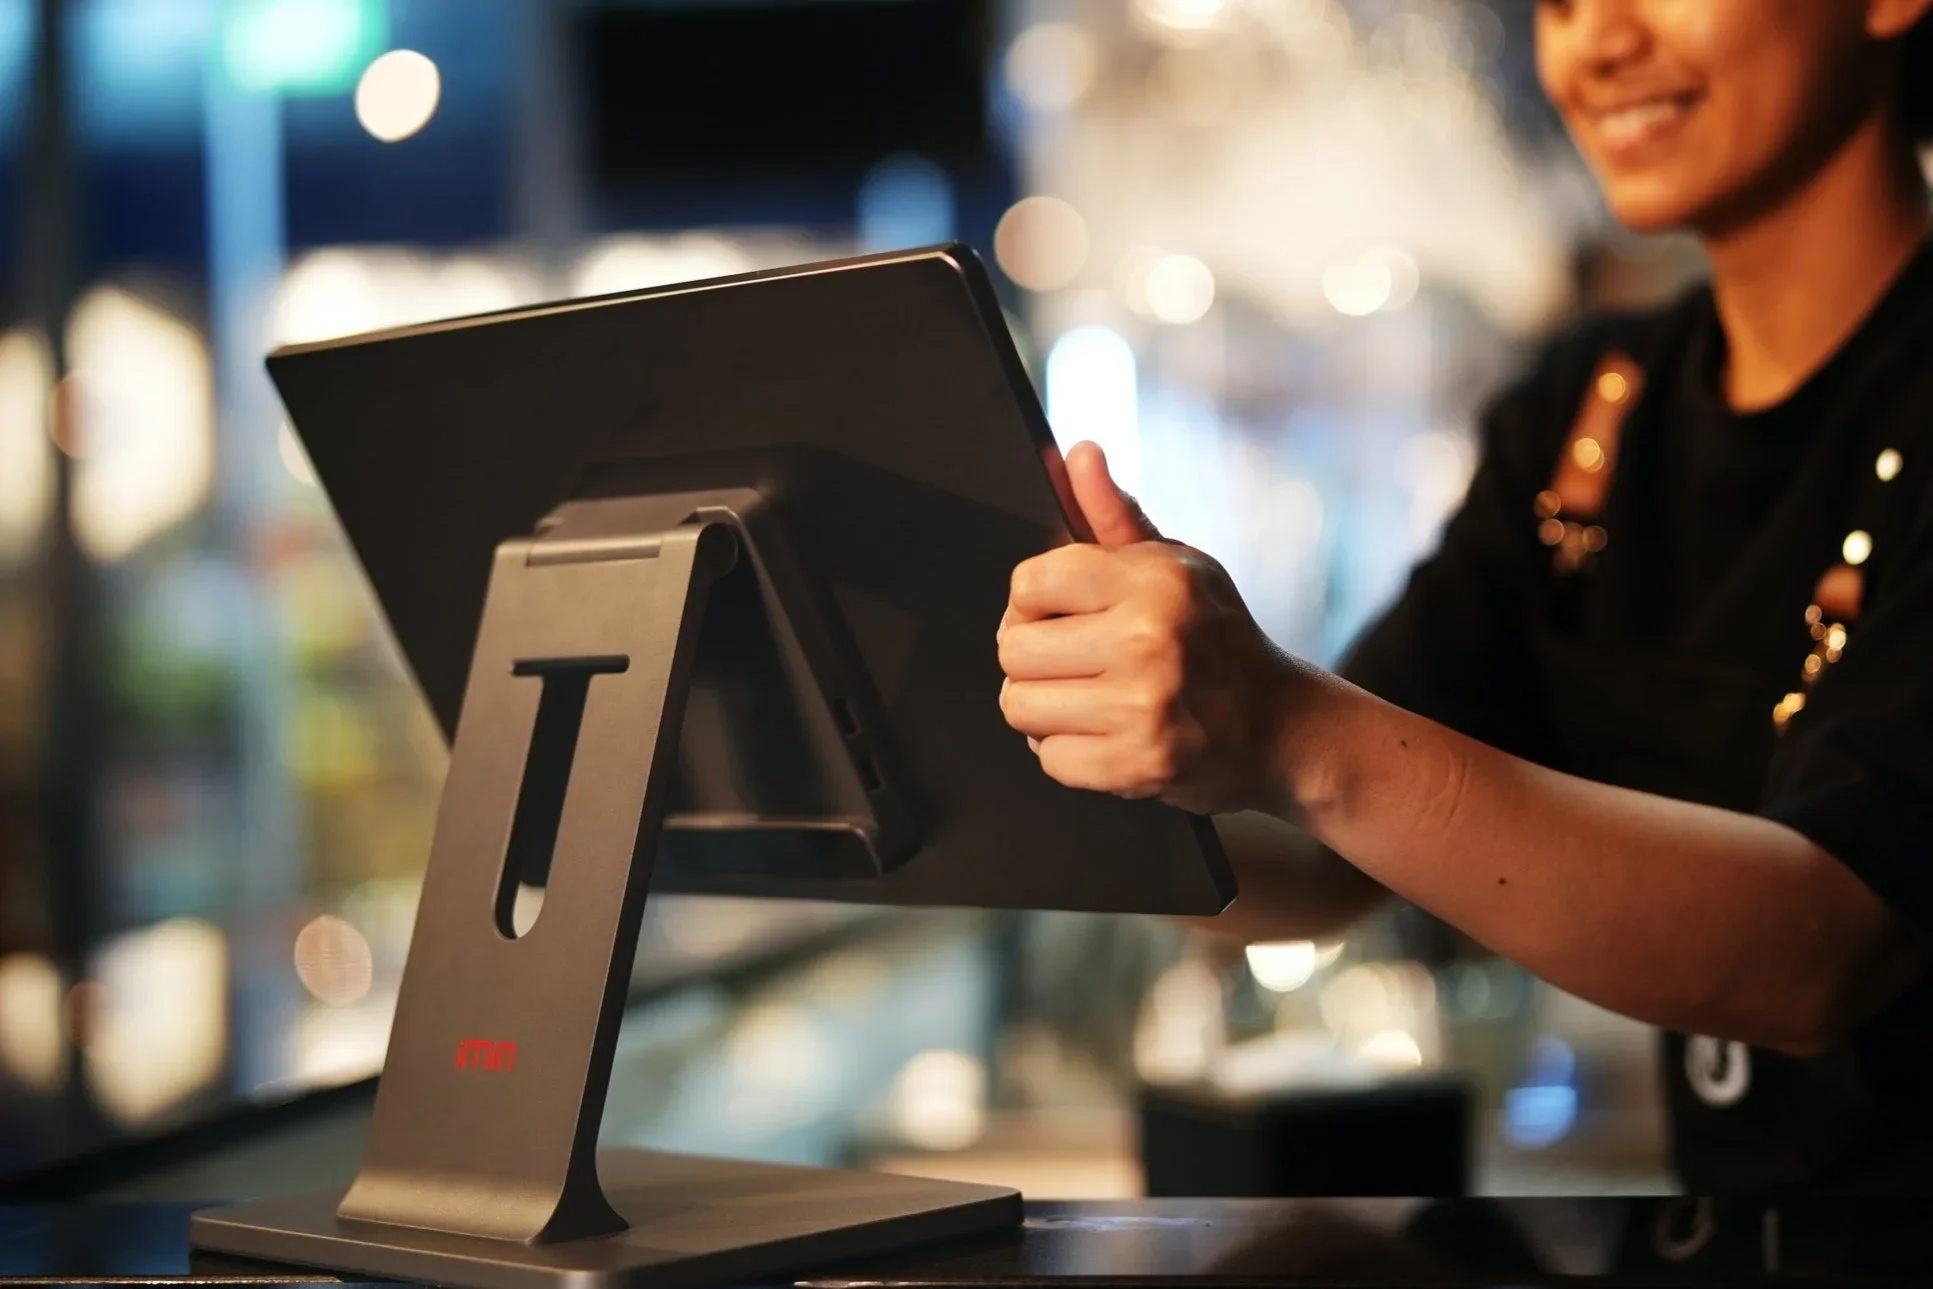
Step 2: Receive Product and Add into POS

Once you've verified the new products, the next step is to enter them into your Point of Sale (POS) system. Accurate inventory levels and updated sales data are essential for smooth operations. Here’s how to do it:
Log into your POS system: Navigate to the inventory management section.
Add new products: Add in your Purchase Order into your POS system
Save and update: Double-check the entered information for accuracy and save the changes.
Step 3: Update Menu

With your POS updated, it’s time to refresh your digital menu using BudSense. This process is straightforward and user-friendly. Here’s what you need to do:
Access BudSense dashboard: Log into your BudSense account.
Sync with POS: BudSense integrates seamlessly with your POS system, allowing for automatic updates. Sync BudSense with your POS to pull in the latest inventory data.
Customize menu: Customize the layout and design of your menu. Highlight new arrivals, special deals, or featured products to attract customer attention by using BudSenses unique features such as Labels, Badges and Smart Playlists.
Review and publish: Double-check the menu and then publish it. Your digital menu will now reflect the latest products available in your store with the customization matching your branding!
Step 4: Menu Up to Date

Once your menu is updated, it will be pushed through to your screens for your customers to see. The real-time updating feature of BudSense ensures that any changes made in the POS system are quickly reflected on the digital menu, providing your customers with the most accurate and up-to-date product information.

The BudSense Advantage
By using BudSense for your digital menu creation, you benefit from:
Time Efficiency: Quick updates mean less time spent managing menus and more time focusing on customer service.
Accuracy: Real-time synchronization with your POS ensures your menu is always accurate.
Customization: Tailor your menu to highlight promotions, new arrivals, and featured products, enhancing the shopping experience while maintaining your brand identity.
User-Friendly Interface: Our intuitive platform makes menu updates simple and hassle-free.

Conclusion
Keeping your digital menu up to date is essential for smooth retail operations and an enhanced customer experience. With BudSense, this process is streamlined and efficient, allowing you to focus on what matters most – your customers. Embrace the power of BudSense and revolutionize your store operations today.
Join the BudSense community and experience the ease of digital menu creation. Let’s enhance your customer experience and streamline your store operations together.
Where can I learn more?
The BudSense blog is updated constantly with all the latest news and trends of the North American cannabis industry. Book a demo with BudSense today to make sure your dispensary is never left behind.
Learn more about BudSense